This post is taken from my old website. I’m still dismantling that site.
What is PMR446 anyway ?
PMR446 stands for Personal Mobile Radio and is a license free radio in the 446 MHz UHF band. That is about 6 Mhz above the 70cm amateur radio band. There are 8 channels starting at 446.00625 MHz and ending at 446.09375, spaced 12.5 kHz apart.
Most radios are equipped with 38 CTCSS tones, sometimes called sub-channels.
The Belgian law says that the radio have to be portable (walkie-talkie), integrated antenna and 500 mW maximum effective radiated power (ERP). This could mean that if your antenna has a ‘gain’ of -3 db you may have 1000 mW of power at the bottom of your antenna (3 db is 2 times the power).
The radio must have an integreated antenna, so no antenna connector, bummer 🙂
In that case, there is no easy method of using a larger antenna to increase your range. Surfing around the net gave me some ideas about what others are doing. I saw examples where a small BNC connector is place instead of the antenna, a short piece of coax, a coupling loop, …
But in most cases it’s useless. Sliding a piece of metal wire in the antenna or removing the original antenna and solder the wire in its place does no good at all.
I’ve seen those modified antennas as long as 1 full wavelength without any matching unit. A 1/4 wave could work, a 1/2 wave too if you have a counterpoise. The modified antennes have no impedance mathing network at all. This causes a bad SWR, less power to the antenna, less range…
I agree that the integrated antenna could be better, the more expensive transeivers ar better tuned. I think that they have the 1/4 wave antennas attached according to the length of about 16cm.
But let’s go to our PMR446 yagi : it is a 6 element version where the dipole is left out. Your PMR radio will be the dipole.
You need :
glue, aluminium foil, 1 meter of pine wood 18 mm x 18 mm, 2 meter of pine wood 20 mm x 12 mm, saw, nails or screws, a knife, something to measure the length with, patience, a cold beer, a lazy afternoon, …
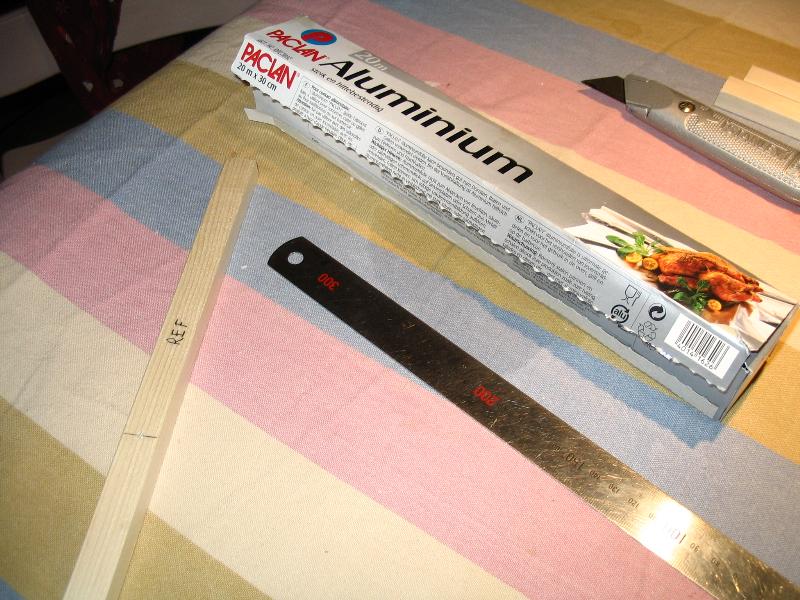
Let’s start by sawing the 20×12 pine wood in this lengths (in mm) :
| reflector | 342 |
| dir 1 | 282 |
| dir 2 | 274 |
| dir 3 | 259 |
| dir 4 | 249 |
Take now the beer and drink some, mmmh.
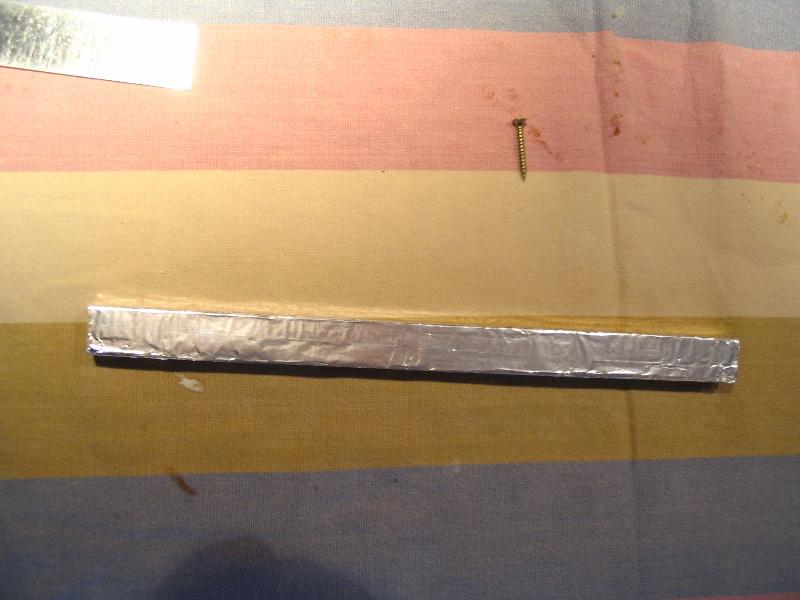
Drill a small hole in the center. I made the hole the same diameter as my screws. Cover the sticks with glue and wrap sheet of aluminium foil around it. Cut away the leftovers
Put everything aside to let the glue dry. Finish your beer.
Nail or screw the sticks to the boom (18×18 pine wood) with these spacings center to center (mm) :
| reflector – dir 1 | 247 |
| dir 1 – dir 2 | 164 |
| dir 2 – dir 3 | 222,5 |
| dir 3 – dir 4 | 227 |
Your radio will be located at about 151 mm from the reflector and 96 mm from dir 1. Experiment here for the best position/signal.
Pictures of my version :

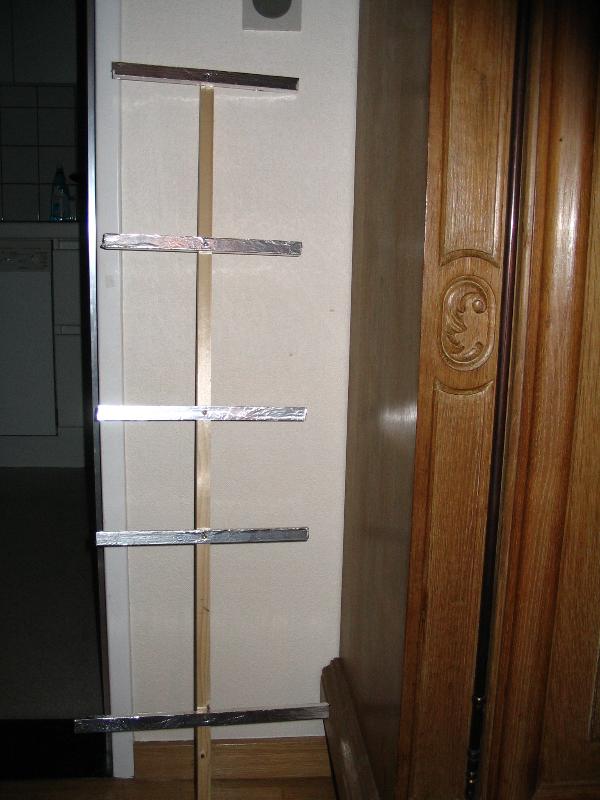
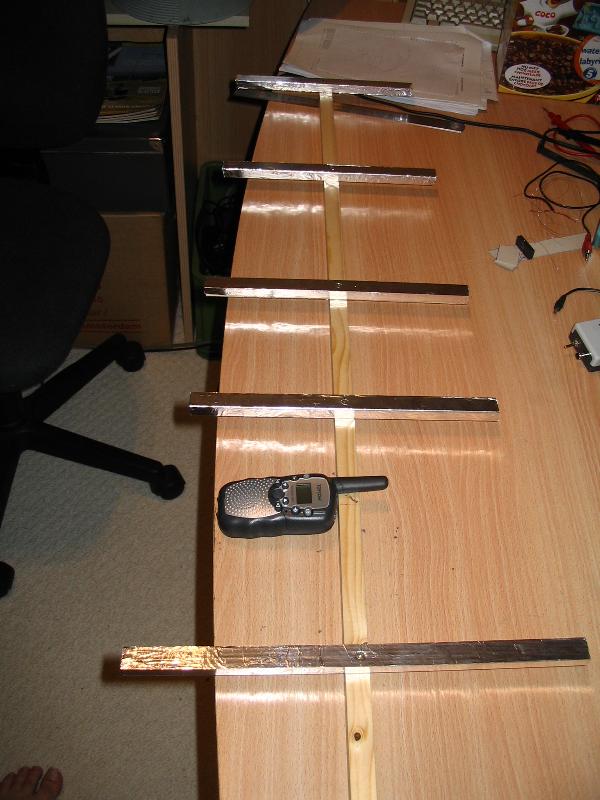
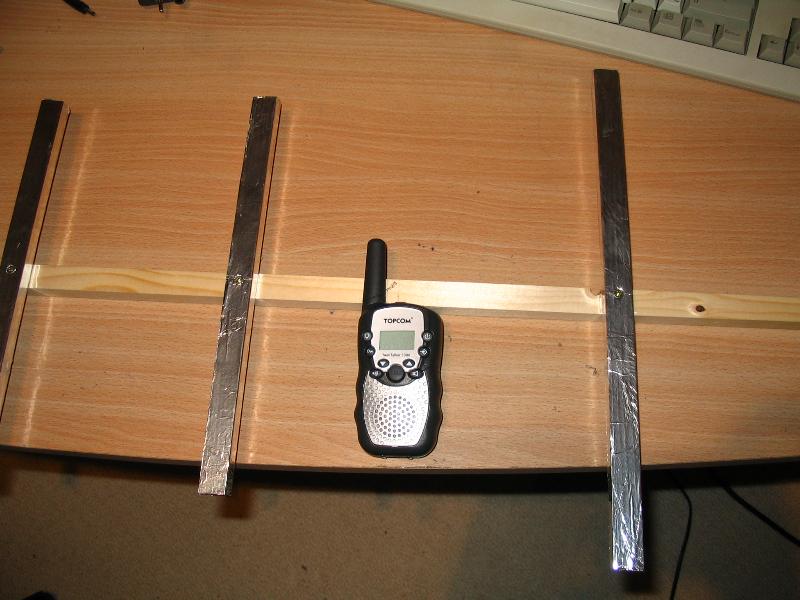
My Topcom Twintalker 3300 isn’t the best pmr radio there is, but it’s a start. On some pictures you can see what I mean that your radio is the dipole/driver…
I haven’t tested the antenna yet. There no stations in my neighbourhood that have the patience to do the testing. Kids enough that use it as a toy, heard also members of the local Red Cross on an event.
Anyway, enjoy building it and have fun with it.
Additional info :
Website in Spanish, source of my antenna http://galeon.com/pokerpmr/antena6.htm
But the info all comes from L. B. Cebik, W4RNL
Dutch site of BE5EL, who has build also a yagi. Slightly different dimensions.